課本沒有http://developer.android.com/guide/tutorials/hello-world.html所說的Create an AVD這個步驟,所以也會令人困擾!
『
To create an AVD, use the “android” tool provided in the Android SDK. Open a command prompt or terminal, navigate to the tools/ directory in the SDK package and execute:
android create avd –target 2 –name my_avd
』
照著做就對了!
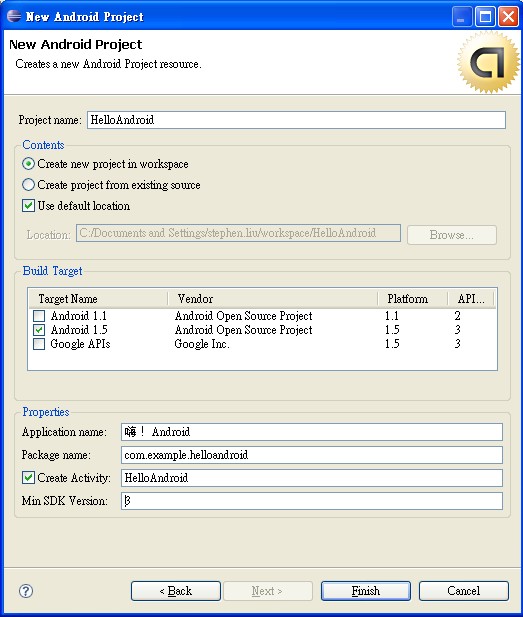
有些操作跟課本的不一樣,我把圖片給貼出來,讓大家看看:
這是參考http://developer.android.com/guide/developing/eclipse-adt.html的
『
- Select the contents for the project:
- Enter a Project Name. This will be the name of the folder where your project is created.
- Under Contents, select Create new project in workspace. Select your project workspace location.
- Under Target, select an Android target to be used as the project’s Build Target. The Build Target specifies which Android platform you’d like your application built against.Unless you know that you’ll be using new APIs introduced in the latest SDK, you should select a target with the lowest platform version possible, such as Android 1.1.Note: You can change your the Build Target for your project at any time: Right-click the project in the Package Explorer, select Properties, select Android and then check the desired Project Target.
- Under Properties, fill in all necessary fields.
- Enter an Application name. This is the human-readable title for your application — the name that will appear on the Android device.
- Enter a Package name. This is the package namespace (following the same rules as for packages in the Java programming language) where all your source code will reside.
- Select Create Activity (optional, of course, but common) and enter a name for your main Activity class.
- Enter a Min SDK Version. This is an integer that indicates the minimum API Level required to properly run your application. Entering this here automatically sets the
minSdkVersionattribute in the <uses-sdk> of your Android Manifest file. If you’re unsure of the appropriate API Level to use, copy the API Level listed for the Build Target you selected in the Target tab.
』
那個Min SDK Version你填2,就是使用1.1的版本,填寫就用到1.5的版本,如果亂填,會有錯誤訊息!

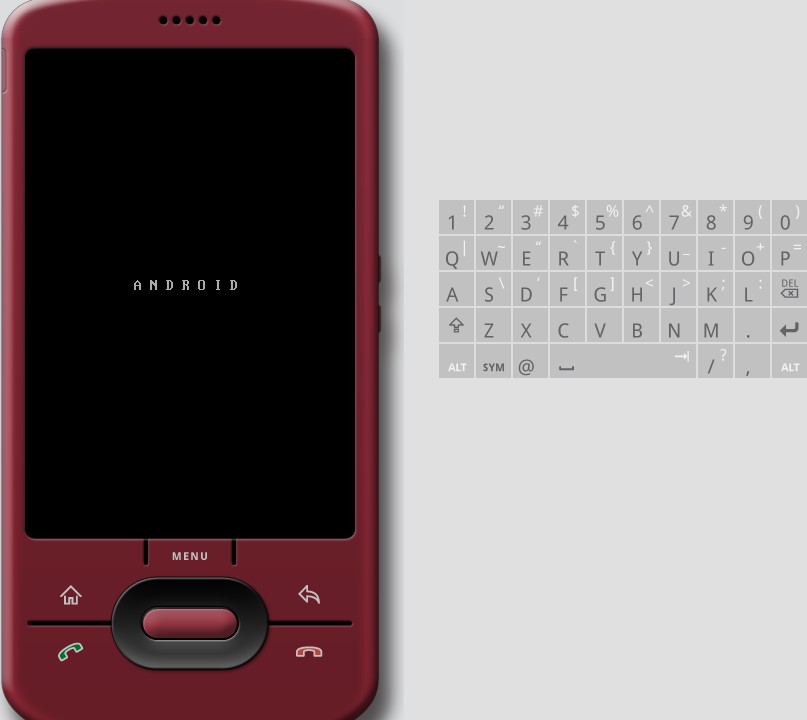
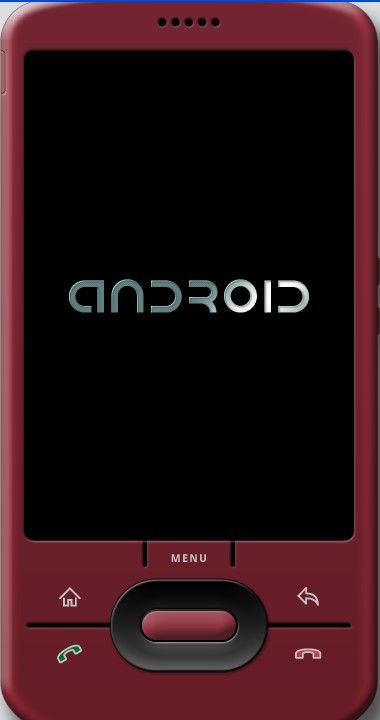
這是執行程式後第一個跑出的畫面,不過我搞不懂這是什麼畫面?一直以為程式寫錯了,後來看到http://karolinman.spaces.live.com/blog/cns!E812C8EDCAC3C663!2323.entry這裡有一句話:「等久一點會出現綠色小機器人的開機畫面…要有耐心. 台灣就要改變了.」
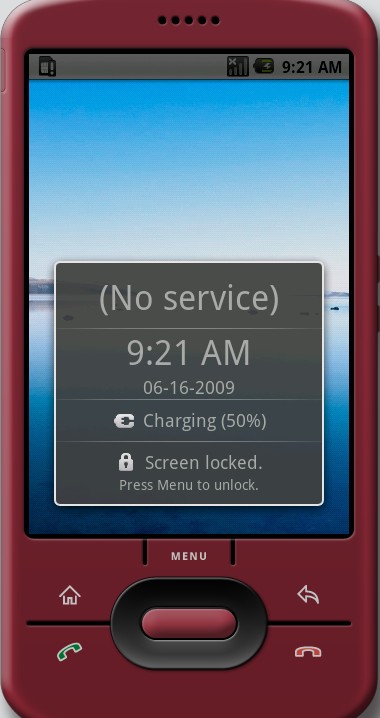
原來要等很久喔,後來果真沒錯,就會進到下一個畫面:
再繼續等!
隨便按了!
看到畫面了,程式的結果呢?因為隨便按掉了,所以就沒了!不過確定是成功了!
有關於模擬器的操作一定要讀這一節:http://developer.android.com/guide/developing/tools/emulator.html
不然有寫程式也不一定看得到結果是否正確!


