ㄚ琪從2010/05/20看Google Android SDK 開發範例大全 2這本書從ex03_01看到ex03_02變更手機視窗畫面底色 — draeable定義顏色常數的方法這節及範例,看了快兩個月了,夠誇張吧!主因是課本的版本雖然已經是最新了,但是還是不敵經常更新的Android SDK 2.2 Api level:8,這個我正在用的版本,你用這個SDK版本去編譯ex03_02絕對會產生錯誤,而我又不太喜歡看全英文的Android手冊,內容多到我看了想吐,所以我就一直用試誤法在測試!

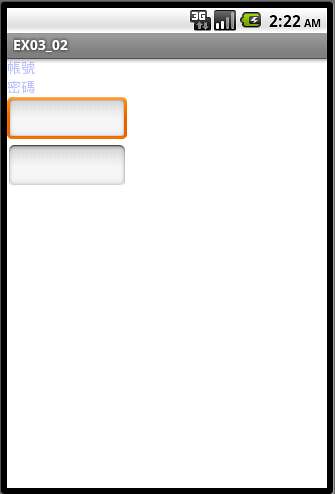
第一次的時候我使用eclipse系統預設的程式,稍加改變,因為AbsoluteLayout已經停用了,所以預設的程式會改用LinearLayout,那就請大家看看畫面吧!
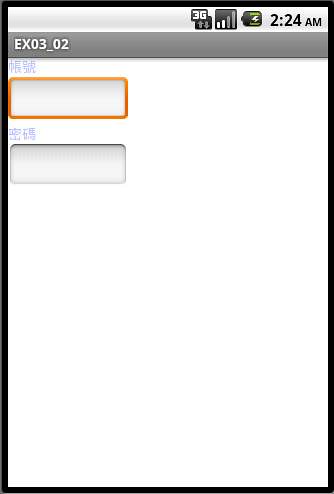
因為課本是用layout_x跟layout_y去定位置的,所以這四個物件的寫作順序不會有什麼關係,但是改成LinearLayout之後,嘿嘿!版面就不鳥你了,稍加變動程式碼順序:
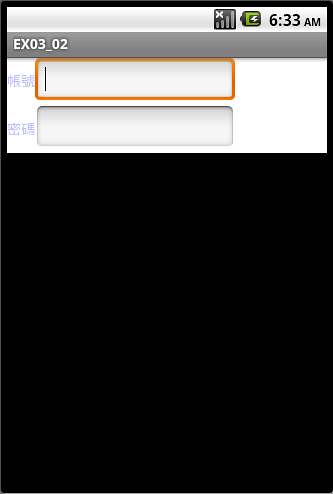
版面好看多了,但是,「這不是我要的的肯德基啊!」,好了課本是帳號輸入欄位同一列的,怎麼做啊!ㄚ琪仰賴Google了,看了很多範例,終於回到Android的手冊頁的範例,Hello, LinearLayout,裡頭連用了很多的LinearLayout的容器,看來只用一個AbsoluteLayout容器就解決的版面,那個時代將不復見,取而代之的是這麼複雜的main.xml檔:
<?xml version=”1.0″ encoding=”utf-8″?>
<LinearLayout xmlns:android=”http://schemas.android.com/apk/res/android”
android:orientation=”vertical”
android:layout_width=”fill_parent”
android:layout_height=”wrap_content”
android:background=”@drawable/white”
>
<LinearLayout
android:orientation=”horizontal”
android:layout_width=”fill_parent”
android:layout_height=”fill_parent”
android:layout_weight=”1″>
<TextView
android:id=”@+id/widget28″
android:layout_width=”wrap_content”
android:layout_height=”wrap_content”
android:text=”@string/str_id”
android:textColor=”@drawable/darkgray”
>
</TextView>
<EditText
android:id=”@+id/widget31″
android:layout_width=”200px”
android:layout_height=”wrap_content”
android:textSize=”18sp”
>
</EditText>
</LinearLayout>
<LinearLayout
android:orientation=”horizontal”
android:layout_width=”fill_parent”
android:layout_height=”fill_parent”
android:layout_weight=”1″>
<TextView
android:id=”@+id/widget29″
android:layout_width=”wrap_content”
android:layout_height=”wrap_content”
android:text=”@string/str_pwd”
android:textColor=”@drawable/darkgray”
>
</TextView>
<EditText
android:id=”@+id/widget30″
android:layout_width=”200px”
android:layout_height=”wrap_content”
android:textSize=”18sp”
android:password=”true”
>
</EditText>
</LinearLayout>
</LinearLayout>
這個程式碼沒經過什麼修飾,但是畫面是很好看的喔!

porno
所以經過巧妙地重複應用LinearLayout,可以做很棒的版面Layout,ㄚ琪終於可以繼續ex03_03了!

